- The performance to generate active report, which is not so important for business users. (But it is imperative for developers.)
- The performance to load load Active Reports, .mht file to iPAD or PC. It is important for business users.
- The performance to use active reports, or how quick do active reports reacts on simply click from business users. This is extremely important for business users.
As known, Active reports render data decks at runtime for list and crosstab, which will impair the performance for large data set. Even worse ( version 10.1.1) when user left deck, it will take the same time as opening deck. Sometime, it is absolutely necessary to have such data on deck. In this case, style becomes so important to apply. Normally, developer will simply use style for individual columns, headings, such make font bold, no board, or with different background colors. The performance becomes very slow.
The main solution is to apply local class, instead of using styles for each column heading, or data. (I have built a big dashboard for general manager. Its performance was dramatically improved by applying local class, which is unbelievable.) below is steps in detail:
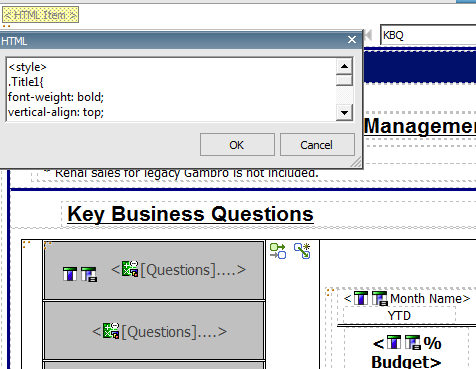
Step 1: create a css
<style>
.Title1{
font-weight: bold;
vertical-align: top;
text-align: center;
padding: 5px;
white-space: nowrap;
background-color: Blue;
color: White;
border: none;
}
.Data1{
vertical-align: top;
text-align: Right;
padding: 5px;
white-space: nowrap;
border: none;
}
.Data2{
vertical-align: top;
text-align: Left;
padding: 2px;
border: none;
}
</style>
Step 2: Add it to the front of page with HTML
Step 3: Navigate to Page Explorer > Classes, copy the code below to your clipboard, and then from the Edit menu, click Paste
<RSClipboardFragment version="2.0">
<classStyle name="Title1" label="Title1"/>
<classStyle name="Data1" label="Data1"/>
<classStyle name="Data2" label="Data2"/>
</RSClipboardFragment>
Step 4: Local class should appear on local class as below
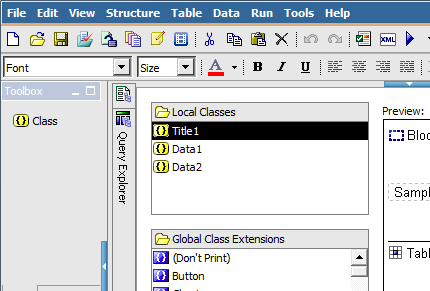
Step 5: then go to all list or crosstab, apply heading, or intersection

No comments:
Post a Comment